
Step 1
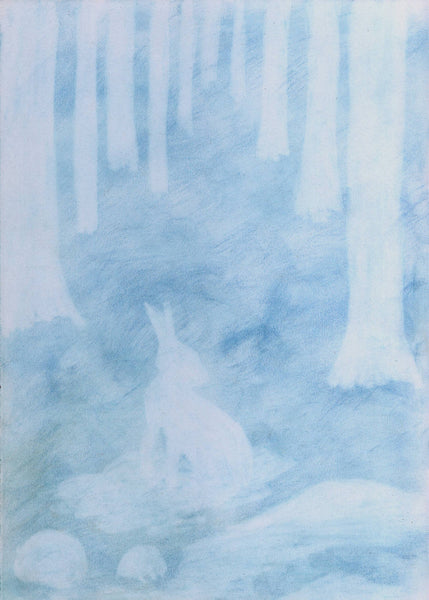
Spring is knocking at the door and the snow is gradually disappearing.
For this reason, we will only lightly color the background of the image with blue, leaving open spaces for the depiction of trees, rabbits, stones, and other elements. The shapes can be further refined with an eraser to emphasize the contours.

Step 2
Now the trees and the rabbit can be colored in, while the branches can be drawn in using the colored sticks. For slightly thicker branches, or to soften harsh outlines, colored powder can be rubbed onto a separate sheet of paper and applied with a slightly moistened cotton swab. To emphasize the rabbit, the colored stick can be carefully used in areas where more contrast is desired, such as the head or front legs. For smaller areas of color, the little finger can also be used.

Step 3
To give the bunny more life, you can use an eraser to highlight some lighter areas, such as the chest, ears, and head. Darker areas like the paws, ears, or tail can be emphasized with a black colored pencil. A slightly moistened cotton swab can also be used for this.

Step 4
In early spring, brown patches and green grass repeatedly emerge from beneath the snow. Since we only lightly painted the background with blue at the beginning, we can now use green and brown to color in some lighter areas and create a beautiful forest floor.

Step 5
Finally, small details can be added to the picture. For example, a bush with green buds or snowdrops can be drawn in using the colored pencils. White flower heads can be painted for the snowdrops using white gouache or white acrylic paint.
0 comments