Application examples
-
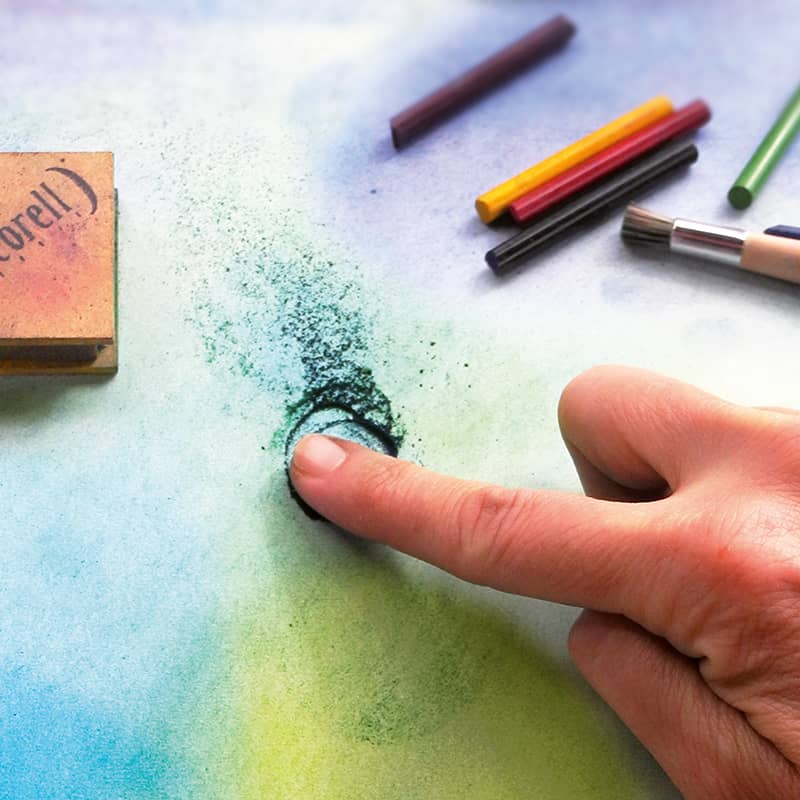
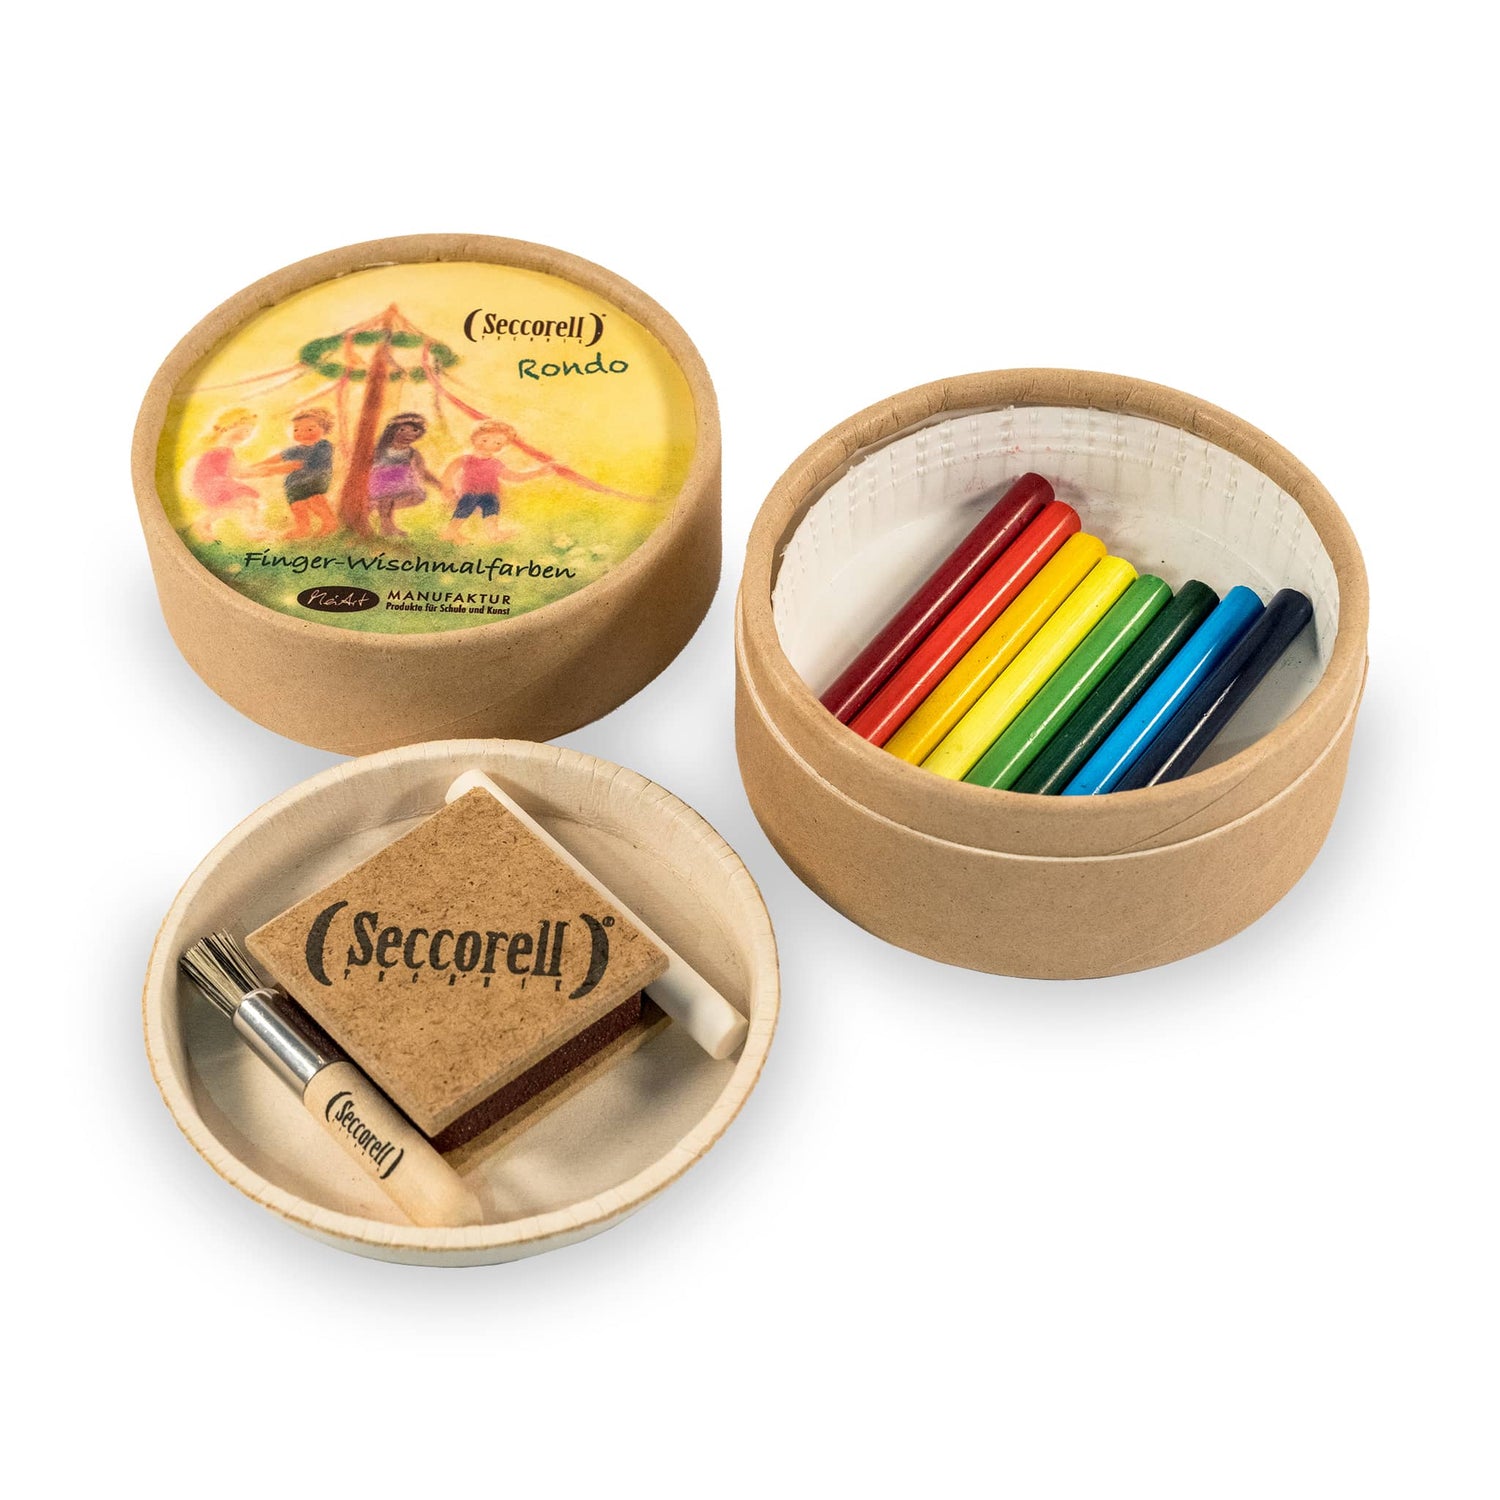
1) Seccorell pure
Smudge the rubbed and brushed color powder imaginatively with your fingers and work it well into the paper. Finally, work the individual areas of color firmly into the picture with a absorbent cotton pad to fix them in place.
You are welcome to paint them and use them as inspiration for your own, completely new motifs.
Important tip for keeping the workplace clean: always place a piece of "scratch paper" (e.g. newspaper) under or next to the picture, wipe up excess paint powder immediately and dispose of it.
-
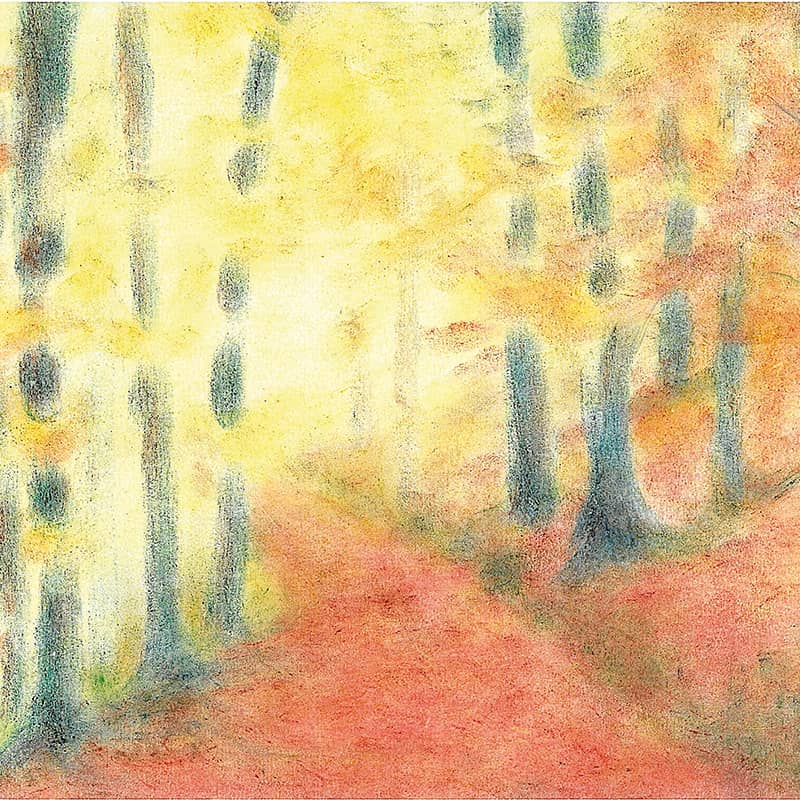
2) Autumn picture
1. build up the autumn picture from light to dark: create the picture with your fingers using light yellow paint powder. Mix the gray of the tree trunks from dark blue and light red. Do not polish in firmly yet!
2. when everything is in the right place, paint in the dark yellow, then the light red and finally the dark red elements.
3 Finally, work the paint into the picture one color area at a time using good finger pressure and a cotton pad to fix it.
This picture was created with the 8 basic colors.
-
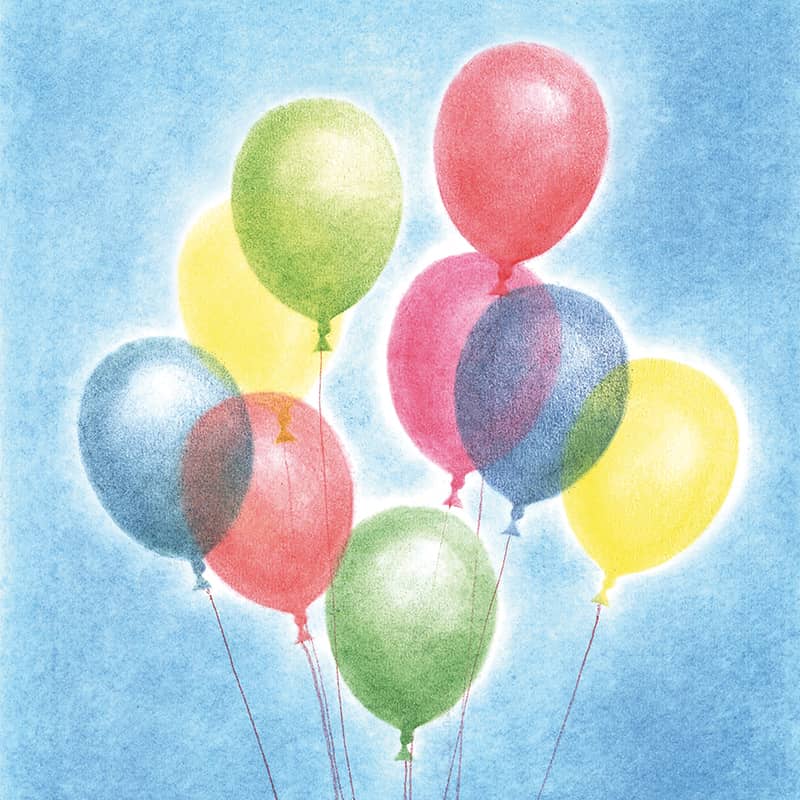
3) Stenciling
1. draw the template on slightly thicker paper and cut it out (do not use thick cardboard, otherwise you will not be able to wipe right to the edge).
2. place the stencil and sprinkle with the desired color. Massage in well until it is smudge-proof! Reason: when the next balloon is painted over it, the contours should remain sharply outlined!
3. remove the stencil and wipe off loose color powder with the edge of a cotton pad without applying pressure to the paper backing.
4. place the template in the desired position again and proceed as described in 2. and 3. until all the balloons have appeared.
5. scatter sky blue around the balloons and blur with fine circular movements, but only until just before the balloons so that they get an aura (this makes the picture look more animated).
6. once the sky / background is finished, massage it in with a absorbent cotton pad (also using fine circular movements).
7. draw the strings with colored pencils or crayons (make sure that they are drawn paler "behind" the balloons).
8 If necessary, erase the highlights in the balloons. Pay attention to which direction the light source should come from! (Tip: You can also always leave a certain area lighter when wiping. This makes the balloons look more three-dimensional).
This picture was created with the 8 basic colors.
-
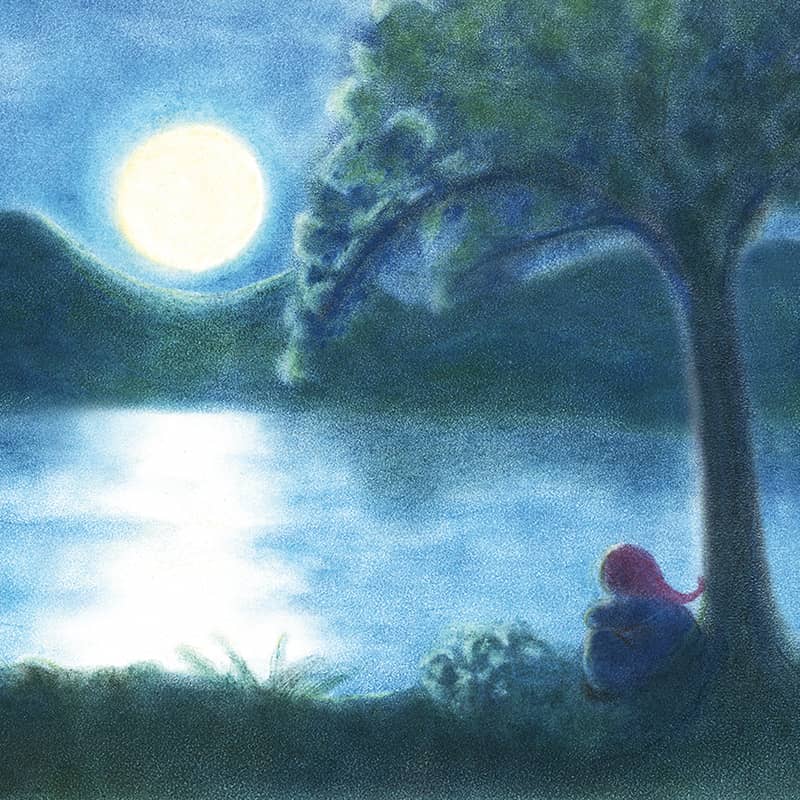
4) Night motifs
1. place a carpet pad (e.g. newspaper) under the painting paper.
2. cover the paper for the moon (with a round object or a paper disk).
3. paint the sky, landscape, tree, water as a "day picture": it should not yet look nocturnal! But be sure to leave out the later moonlight in the water. Use light blue for the sky and water.
4. work in the colored areas thoroughly with your fingers (do a smudge test!) and remove excess powder: wipe off with the edge of a cotton pad without applying pressure.
5. spread the "night" over the entire picture: "veil" all colored areas with dark blue color powder and also work it in well with your fingers. The "night" should cover the picture quite evenly (don't worry, the contours will be removed later!). Remove excess paint powder with the edge of a absorbent cotton pad (and/or shake any leftovers onto the surface and rub in). Then polish in the colored areas with a cotton pad or paper handkerchief. Now remove the masking disk.
6. place sharply outlined figures (like the dwarf here) in the "scene" using a self-made stencil: Place the stencil, erase existing color area if necessary, recolor with Seccorell powder and work it thoroughly into the picture while still in the stencil; remove the stencil. Contours such as branches, grasses,... with Seccorell sticks (or colored pencil).
7. now use an eraser (even better: eraser lead holder or eraser pencil) to erase the moonlights on the branches, landscape, dwarf, etc. (carefully "sweep off" the eraser residue with the edge of the absorbent cotton pad).
8 Delicately trace the erased moon highlights with a light yellow paint stick. Secco the moon and water very delicately (!) with light yellow and smudge it in.
This picture was created with the 8 basic colors.
-

5) Erasing and drawing
1. first draw the peacock delicately with colored pencils or crayons. The contours, especially the bright ovals in the feathers, must be drawn strongly so that they cannot take on any color later when the areas are smudged.
2 Once the peacock is largely finished, you can start coloring using the Seccorell technique.
3. for the small dots on the peacock's headdress, take some pre-grated Seccorell powder with a damp cotton bud and press it into the picture while turning.
4. work in all colors very well until they are absolutely smudge-proof!
5. now erase the white outlines (a good eraser pencil holder is particularly suitable for this - also available from us). The colored outlines can now be traced or added to again.
This picture was created from the colors of the basic paint box.
-
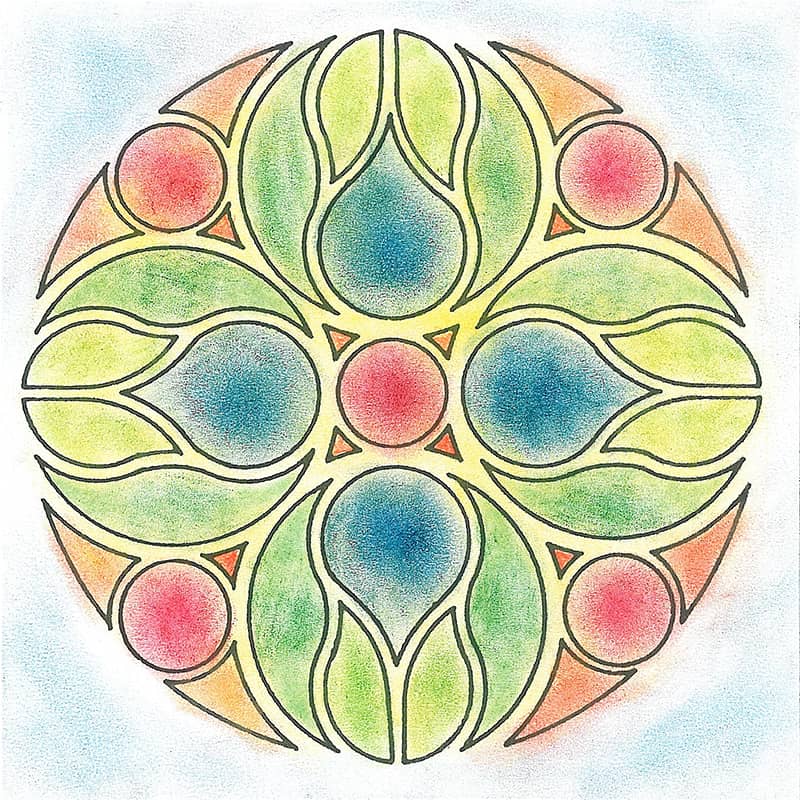
6) Coloring and painting
Sprinkle the individual segments of the mandala motif with color powder and color in, rubbing in well. Very important: Use a different finger and the corresponding rubbing surface on the block for each shade so that the colors remain pure and bright. Finally, polish in the color area by color area with a cotton pad to fix it.
Tip: In addition to original drawings, written material (letters, exercise books, etc.) and conventional coloring templates, laser copies are ideal for coloring and painting: here the contours do not take on any color, which gives the picture a beautiful clarity afterwards. All mixed tones (including brown and grey) can be created from the Seccorell basic colors (see color wheel on the labels attached to the painting boxes); mixtures are particularly beautiful when they are mixed directly on the picture while still in the powder stage.
-
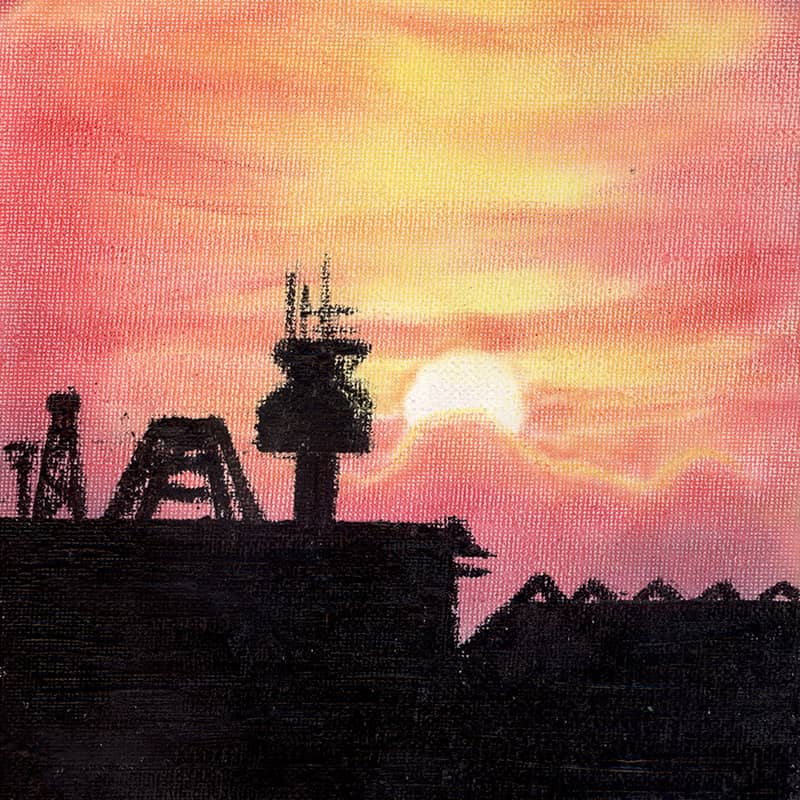
7) Mixing techniques
This picture was painted on canvas-covered cardboard (available in craft stores), which was smoothed with fine sandpaper before painting; the skyline was painted on the Seccorell background (sky) with a warm wax crayon. Of course, this motif is also possible on normal paper - but then not with a warm wax crayon.
1. design the background from light to dark with Seccorell and rub in well. You can simply leave out the sun and erase it if necessary or use a cover. Once the background is finished, use a absorbent cotton pad to buff in the color area by area until everything is smudge-proof.
2. place the skyline. There are many options for this! For example:
- Draw the skyline as a "minus stencil" on a firm piece of paper and cut it out (only the negative remains!), then place it and color it in with bold black paint.
- Or draw a skyline on black paper, cut it out and stick it onto the Seccorell background.
- Or draw directly, e.g. with a wax or felt-tip pen. For fine motifs with grasses, branches or flowers... you can also use a black or dark Seccorell stick or a colored pencil.
No matter how - the only important thing is that the dark foreground is well opaque.
This picture was created with the 8 basic colors.
-
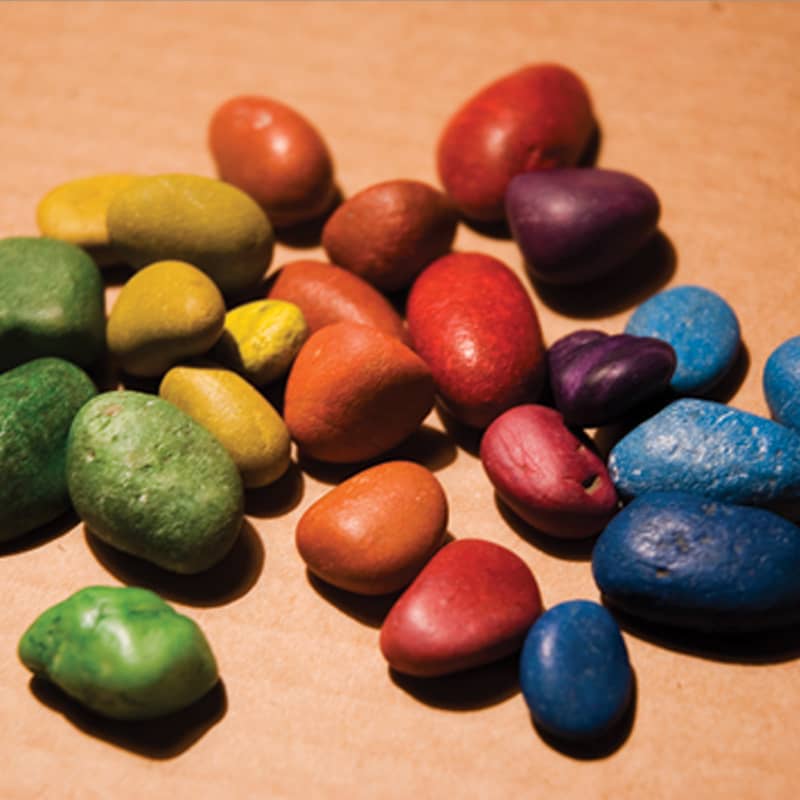
8) Wood, stone and more
For these pebbles, the color powder was pre-rubbed onto a small pile, picked up with the finger and massaged in well; other natural materials (untreated wood, snail shells, shells, bright feathers, ...) can also be beautifully designed with the Seccorell technique.
Tip: It is best to test in advance how well the different surfaces accept the Seccorell paint!
-
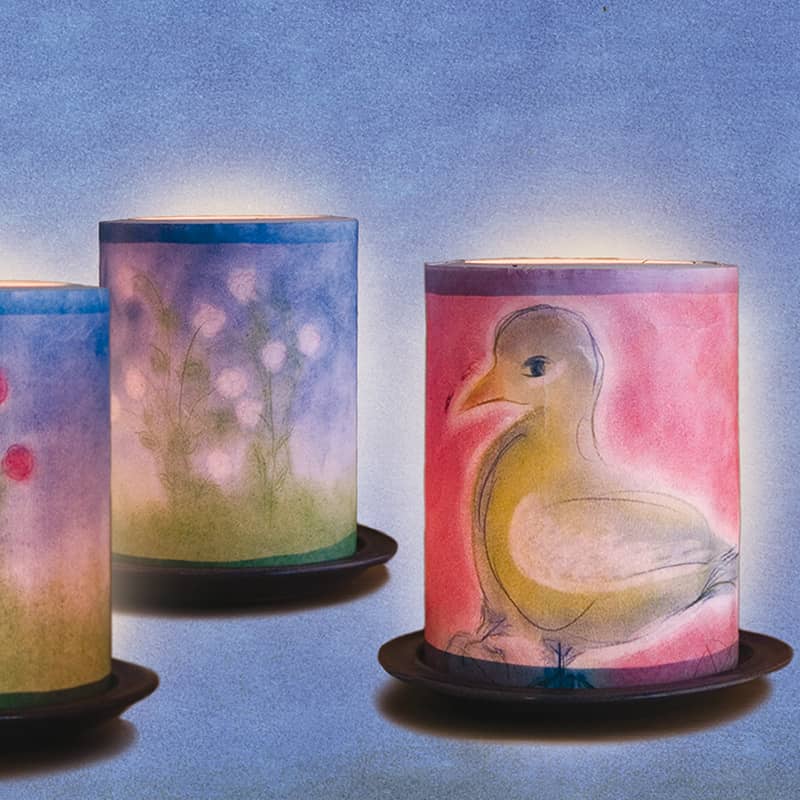
9) Lanterns
This lantern was made from normal writing paper; "Seccorell lanterns" are translucent without oil! Various lantern coloring blocks (with pre-cut paper and folding instructions) are available from us --> creative supplies.
-
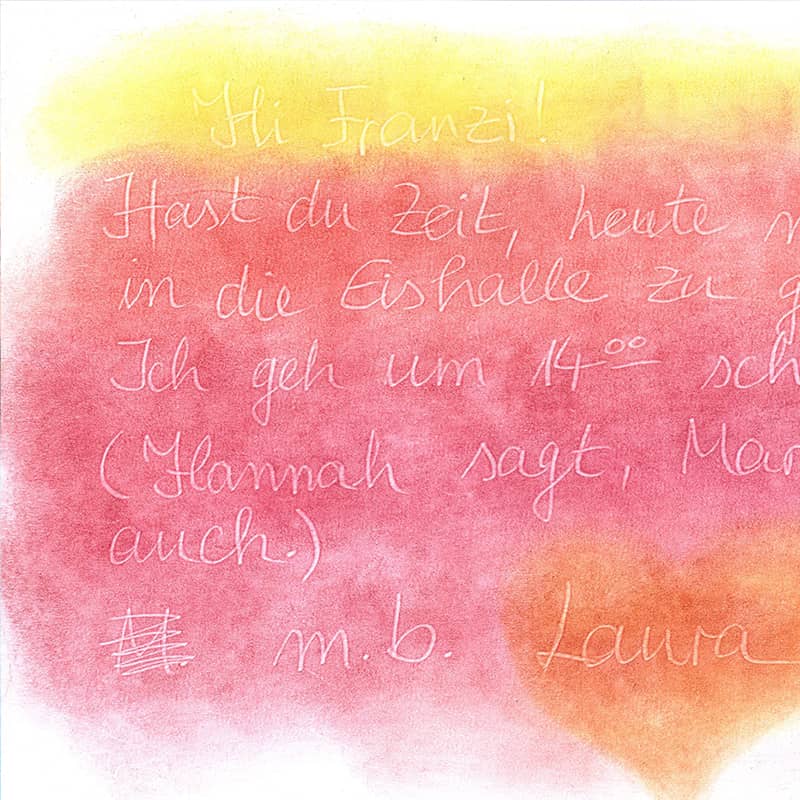
10) Magic pictures
Use a white crayon or white Seccorell crayon to "invisibly" (but with enough pressure!) write a text or picture on the paper, wipe over it with Seccorell, and the writing or drawing appears...!
Tip: Instead of a white crayon, you can also use a hard, blunt object (key, knitting needle, closed ballpoint pen...) for pre-engraving.


